
-
Latest Member Posts
-
-
5
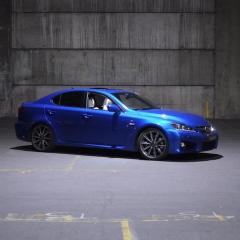
Where are all the IS F's?
The Lexus IS F is quite a rare car, so there aren't many of them on the roads. In New South Wales, there are probably a small number of these cars. It's difficult to give an exact number, as it can change over time due to sales, purchases, and cars going out of service. You could try contacting local car clubs or forums; someone there might have more information about the number of IS F's in your area. -
-
-
-


Recommended Posts
Join the conversation
You can post now and register later. If you have an account, sign in now to post with your account.